Since the seminar (see THIS POST) and my meeting, DEKA was nice enough to send me a XRP robot kit and I got it just yesterday.
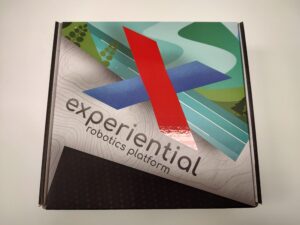
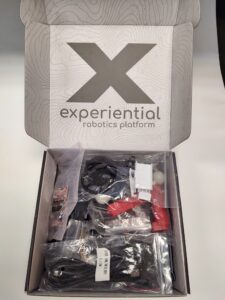
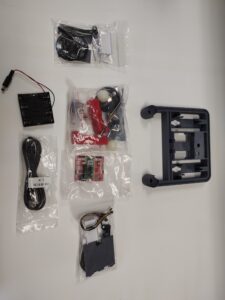
Here are some pics I took of the kit:
The robot was very easy to assemble, follow the video provided by Sparkfun:
Even with knowledge and experience with robotics, micro controllers, and 3d printed objects (like the chassis), I must admit the video goes a bit fast, and I had to pause or rewind a few times during the assembly process.
At about 1:19 into the video they talk about tape being on some of the connectors on the control board. At first I did not see the tape, but when I looked very closely I did see what they were talking about:
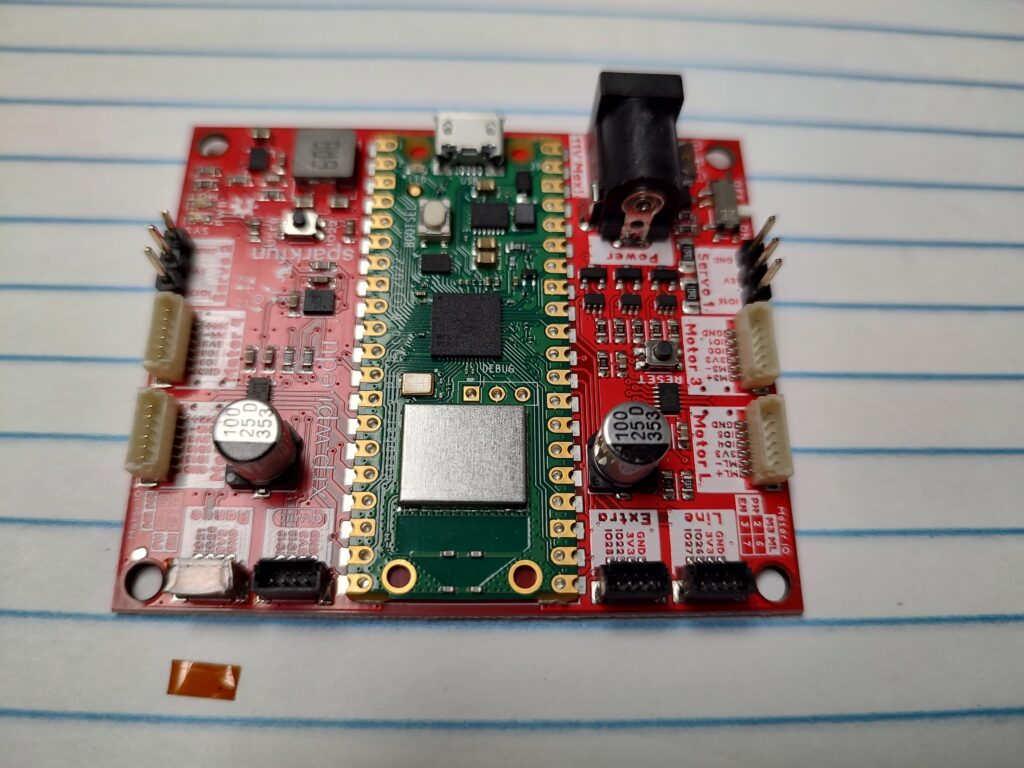
The above picture shows an taped connector (bottom left) and uncovered connectors (the one to it’s right) and underneath, on the paper, is the actual tape. The tape shows up better in the photo, than in real life, so watch for it!
The only other issue I had was when you get to the software portion of the video. at 10:49 into the video is says “Open a web browser” but when I did that I got this window:
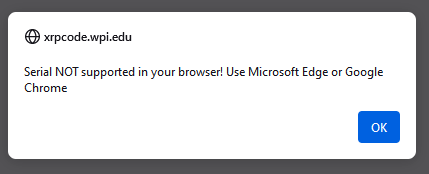
I was using Firefox, so I switched to Chrome and it worked just fine after that (just wanted to save you the trouble).
I ran through the entire video and ran the test code as suggested and everything worked correctly. The video is 15:36 long but, as I said, I had to pause or rewind the video a few times but I think I had the robot working in about 20-25 min.
I love the fact you have to assemble it, but it only takes a short time to go from a bunch of parts to a running robot. When I do teacher seminars, I always stress how important it is to get the robot moving quickly, because once it moves, excitement builds in the student and they want to see what they can make it do! This robot does just that, but still gives the students the sense of “I built that”.
As I play with it, over the next few days I will keep posting my observations…hope you enjoy!
